Your Cart is Empty
***PROCESSING TIME: NEW ORDERS SHIP IN 3 to 6 weeks -- DOES NOT INCLUDE SHIPPING TIME***
WE WILL PERMANENTLY STOP TAKING PHYSICAL CUTTER ORDERS JUNE 1, 2024
WE WILL CONTINUE TO SELL DIGITAL STL FILES
All physical cutters are 3D printed to order from PLA with labels (name & size), rounded handles, & a thinner cutting edge. Please note that 3D printed cookie cutters MUST BE HANDWASHED in cool or lukewarm water. These cutters will warp when exposed to heat.

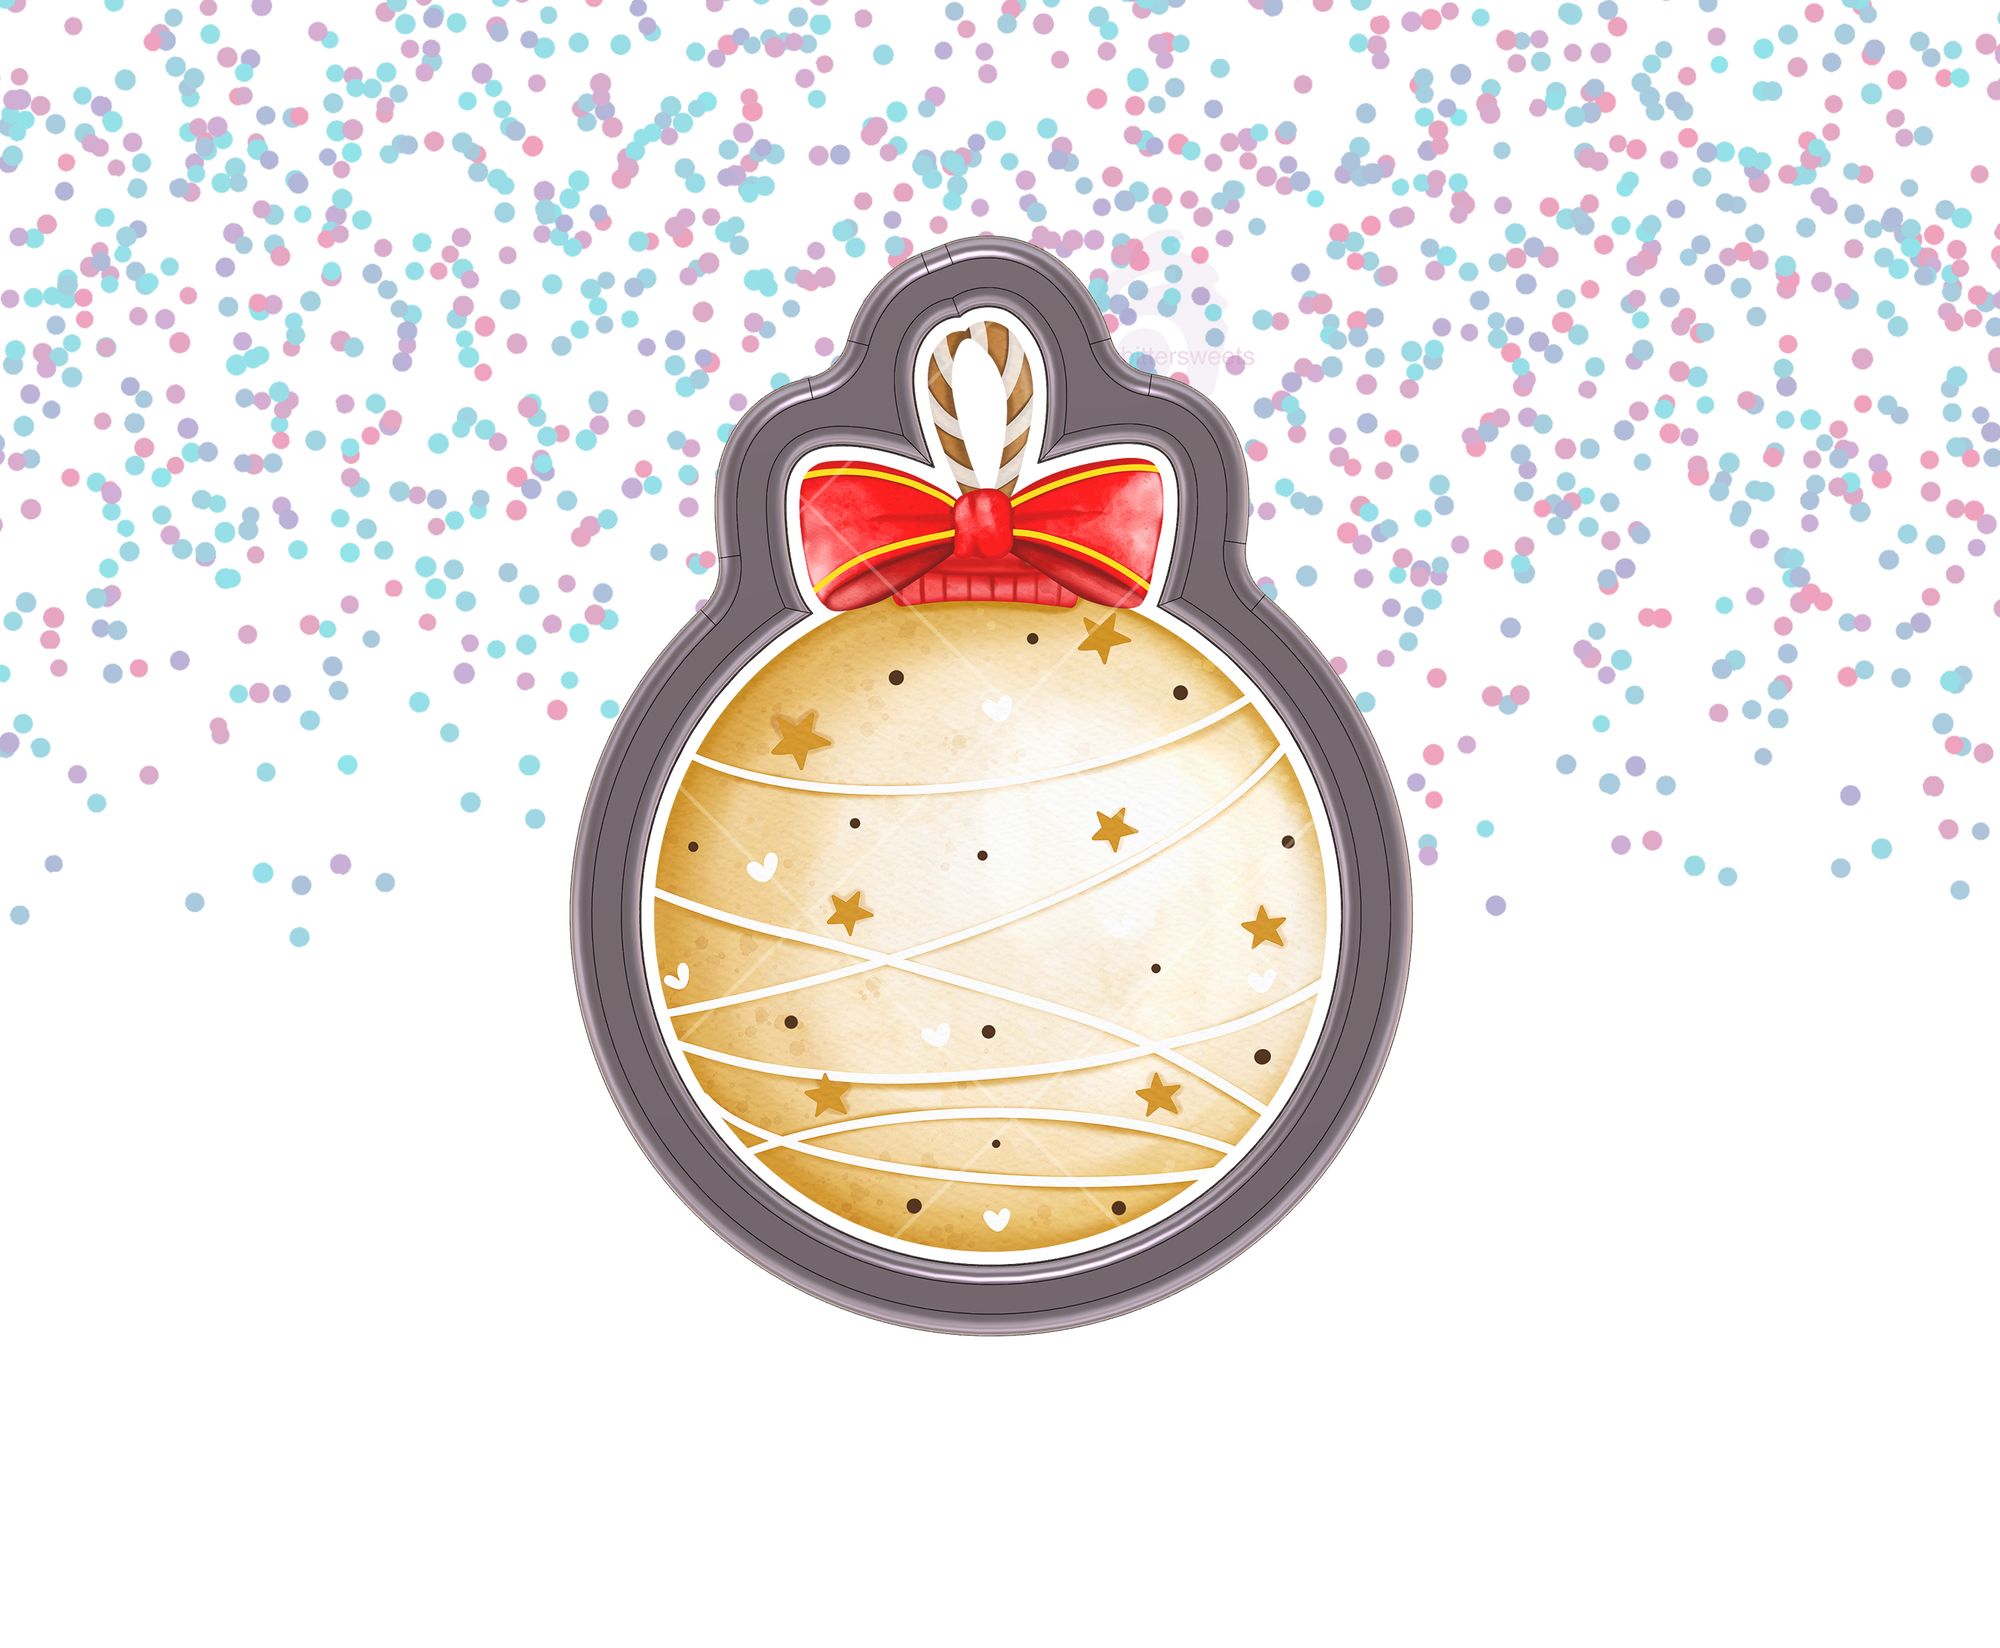
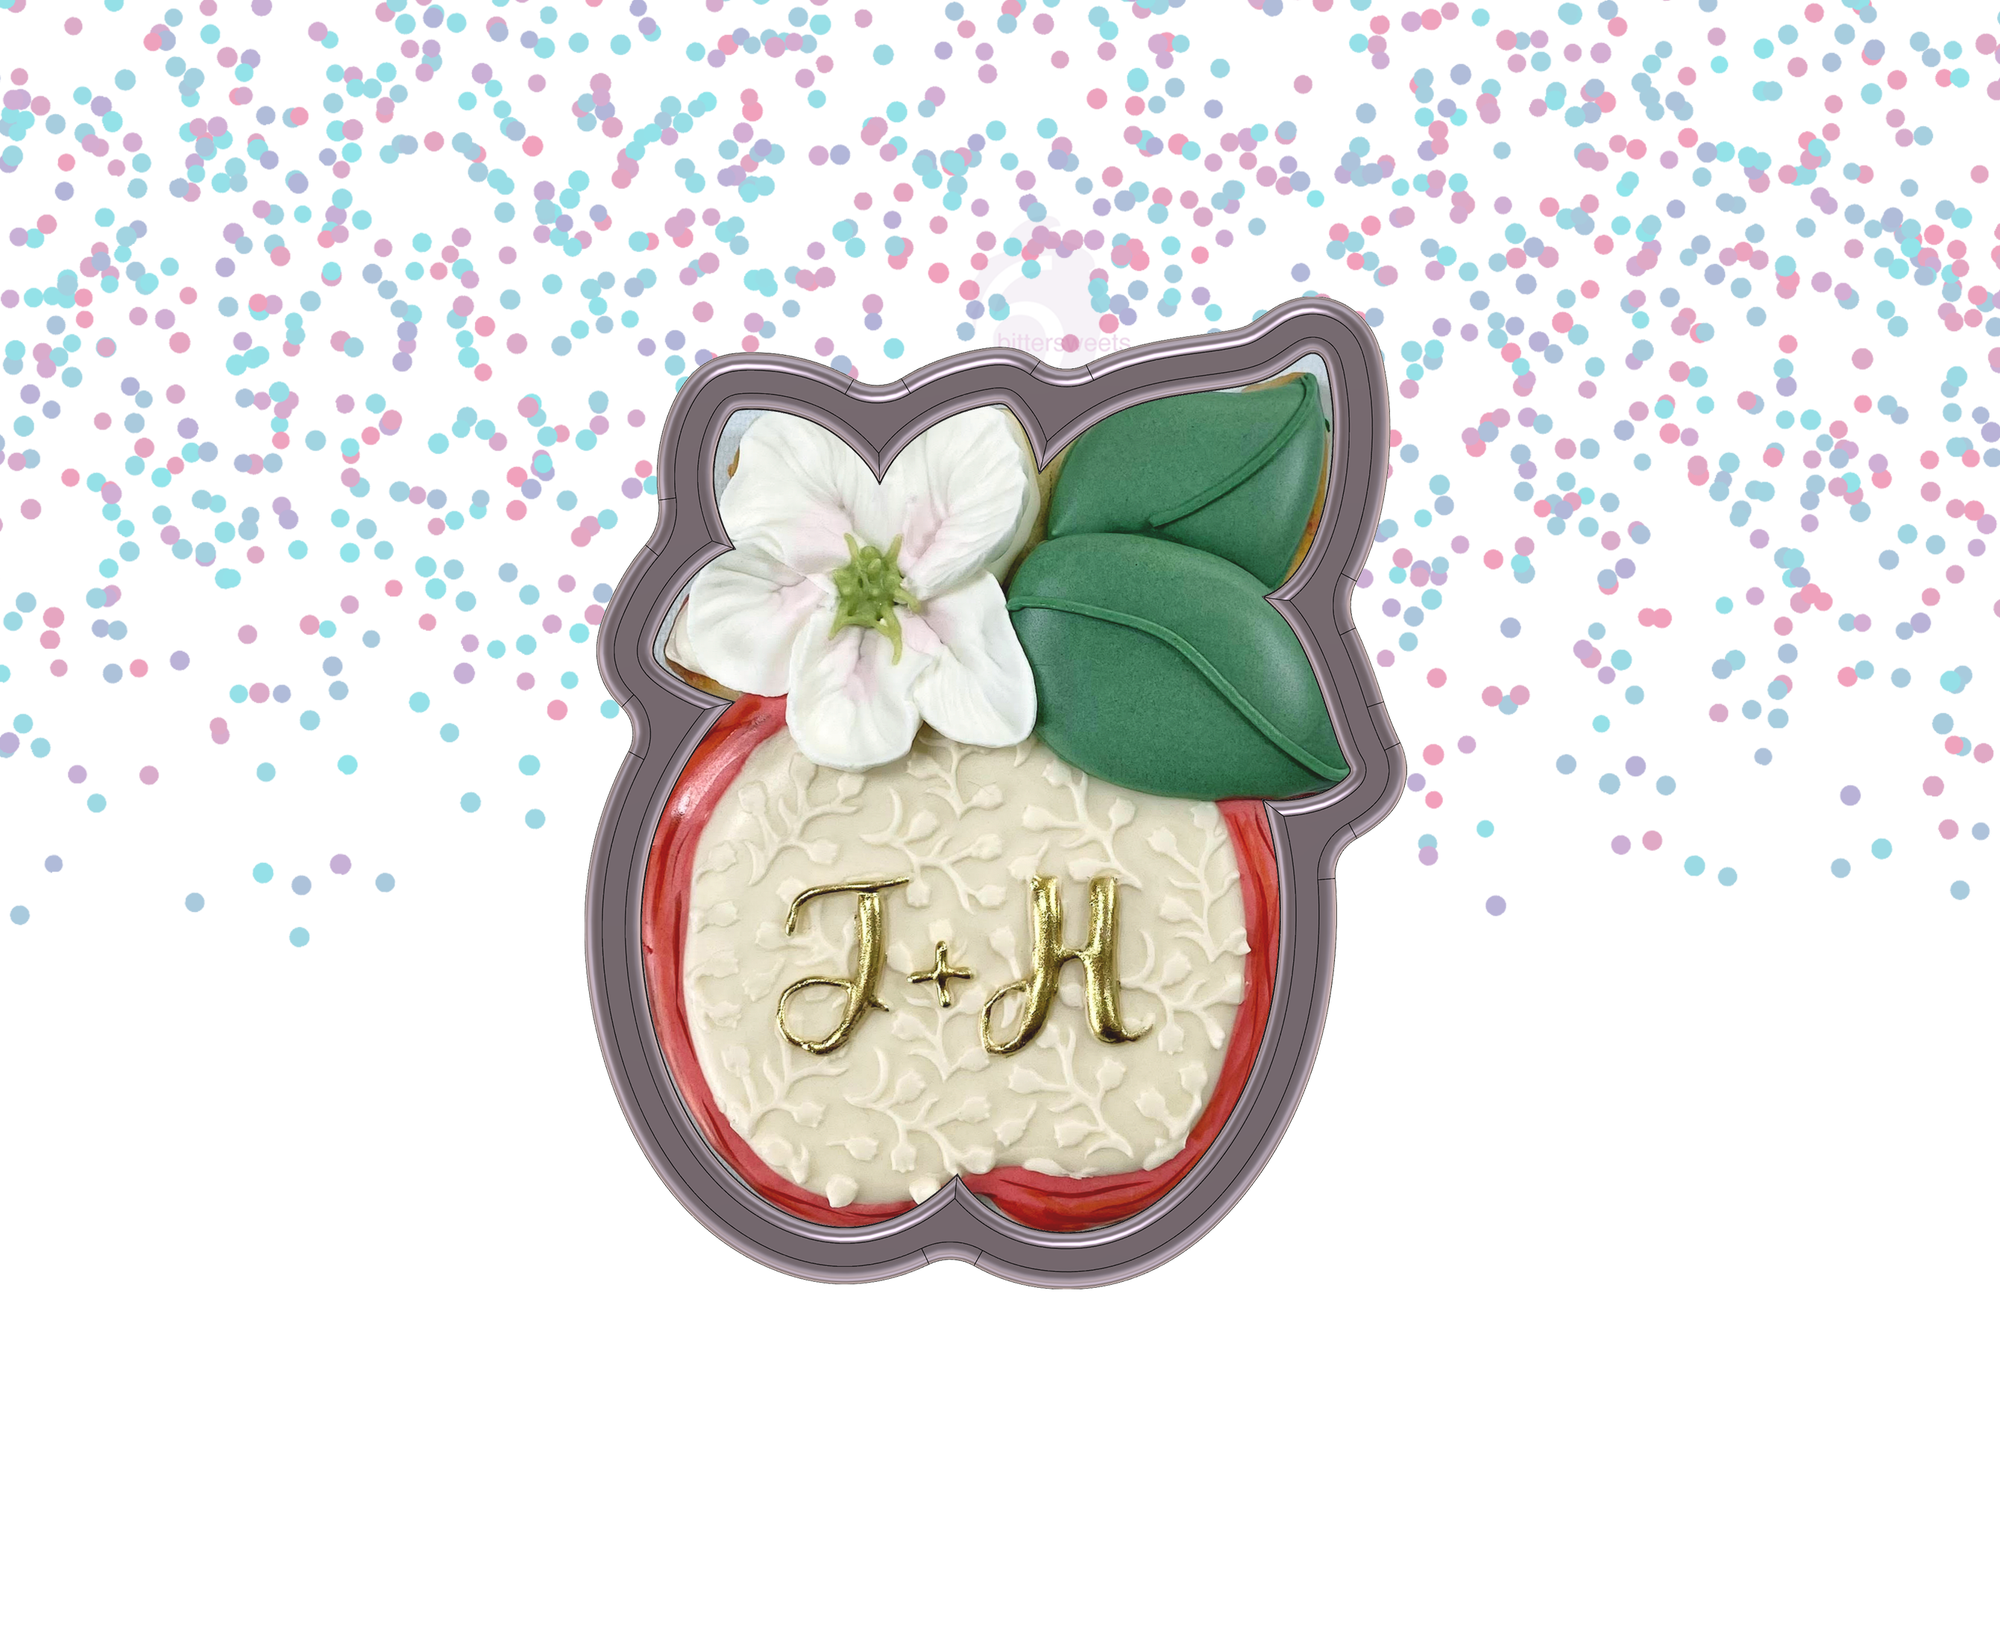
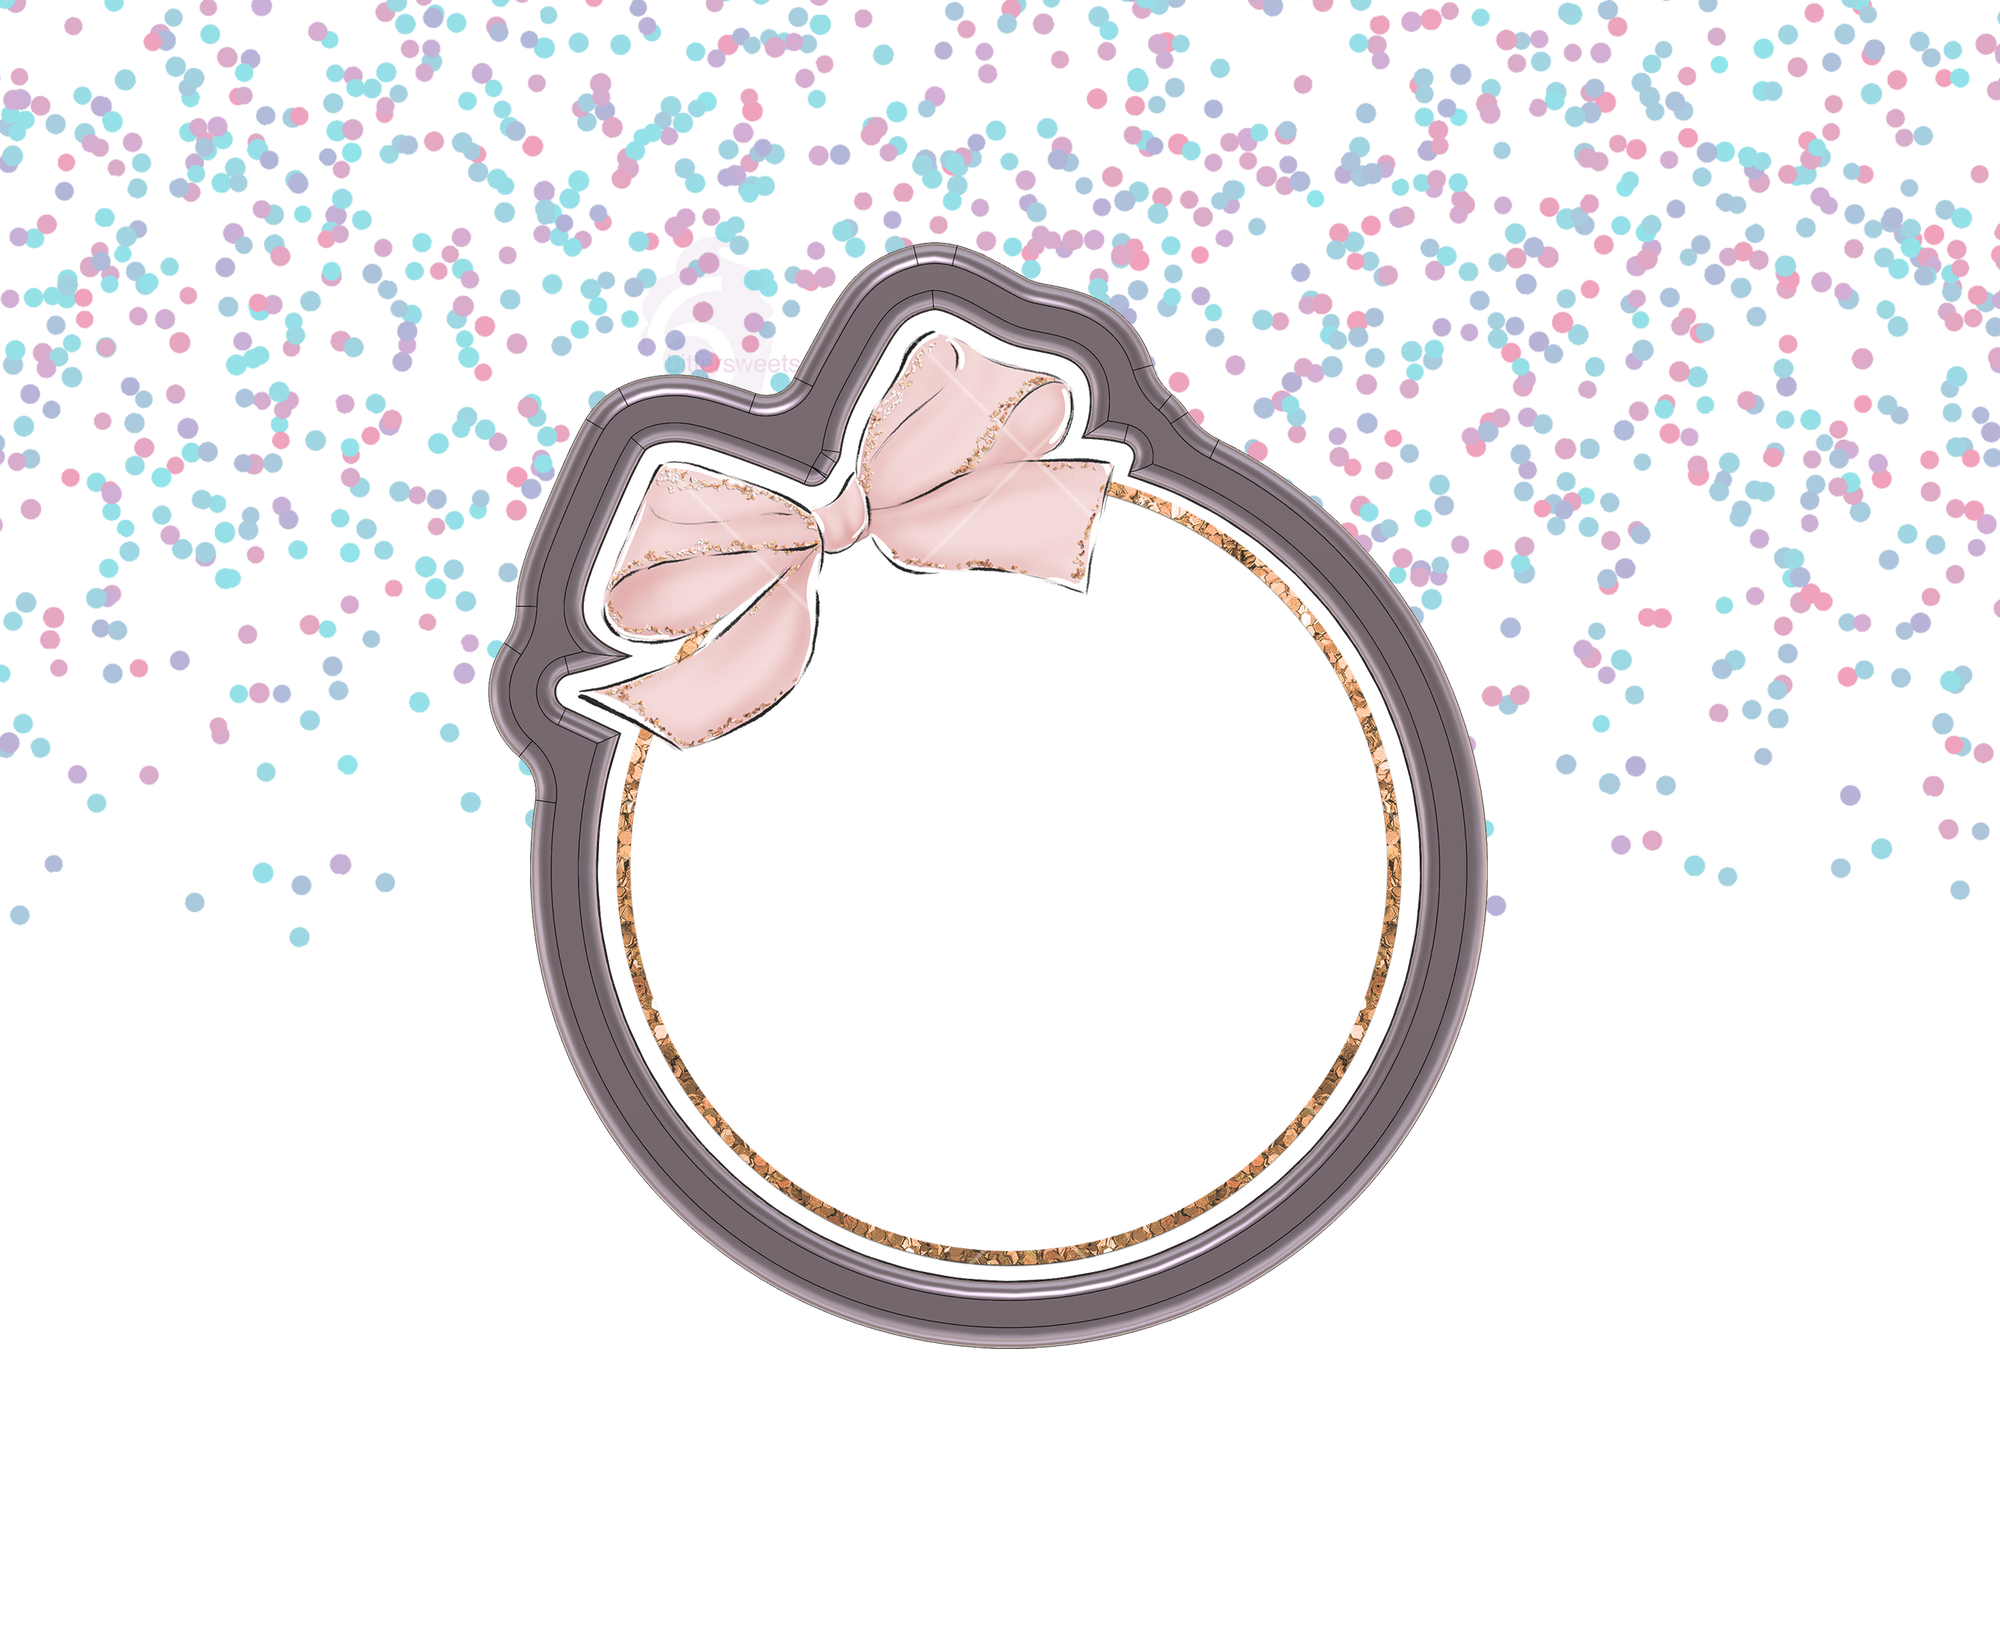
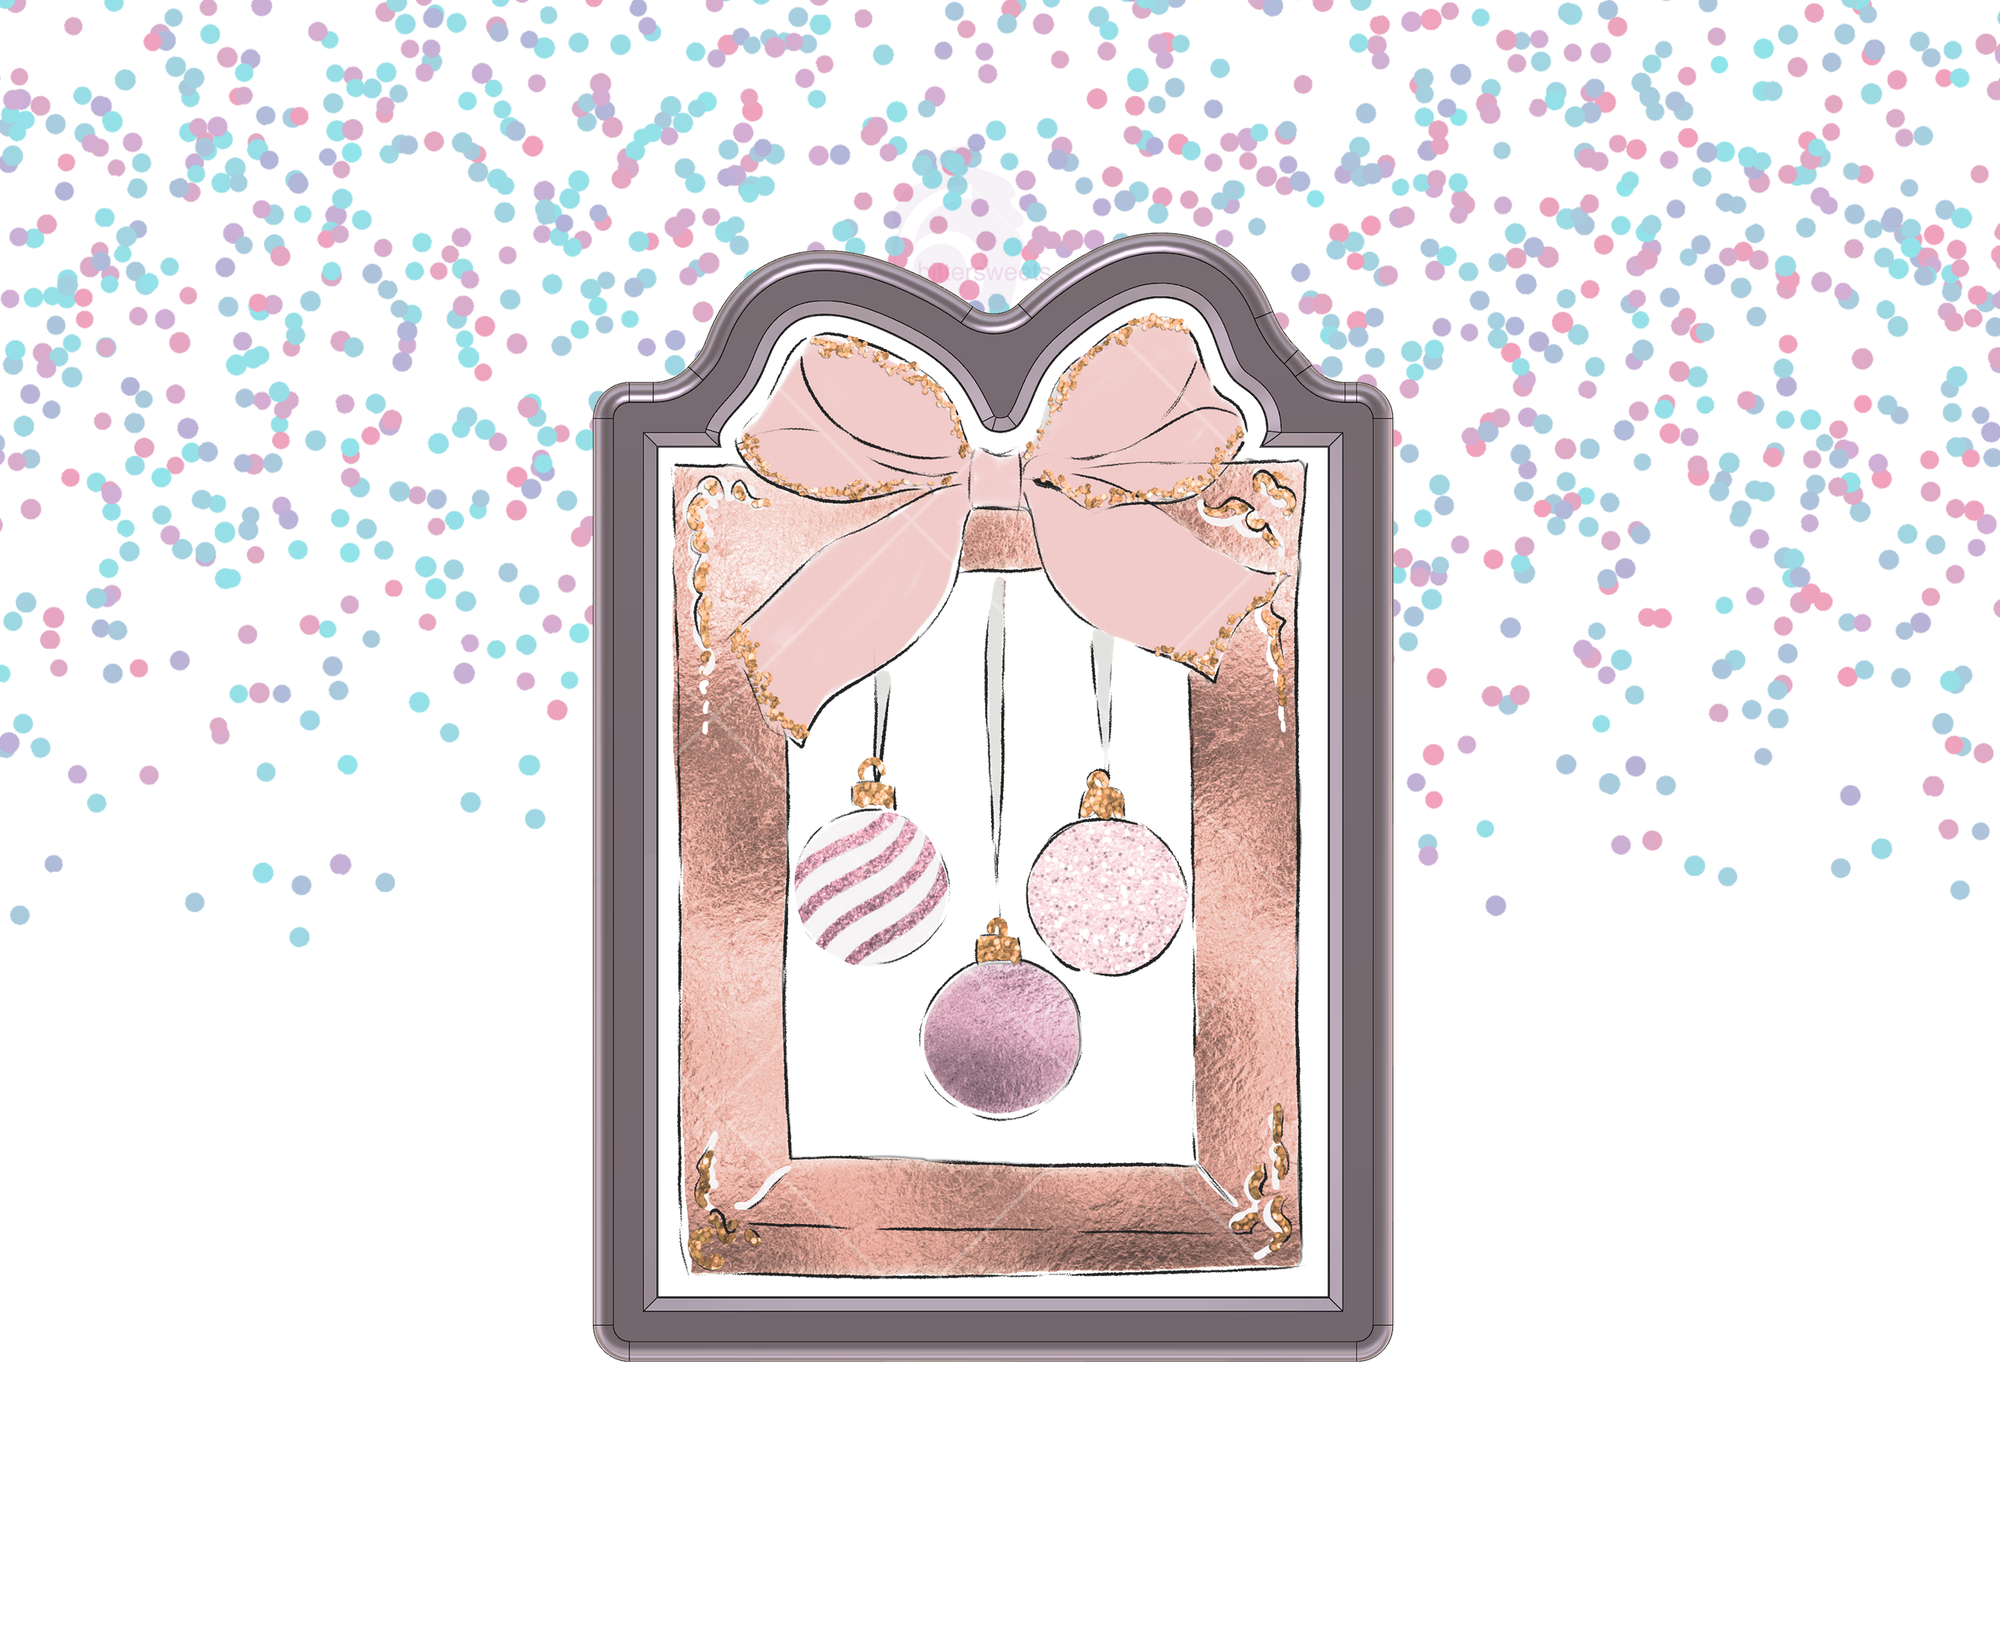
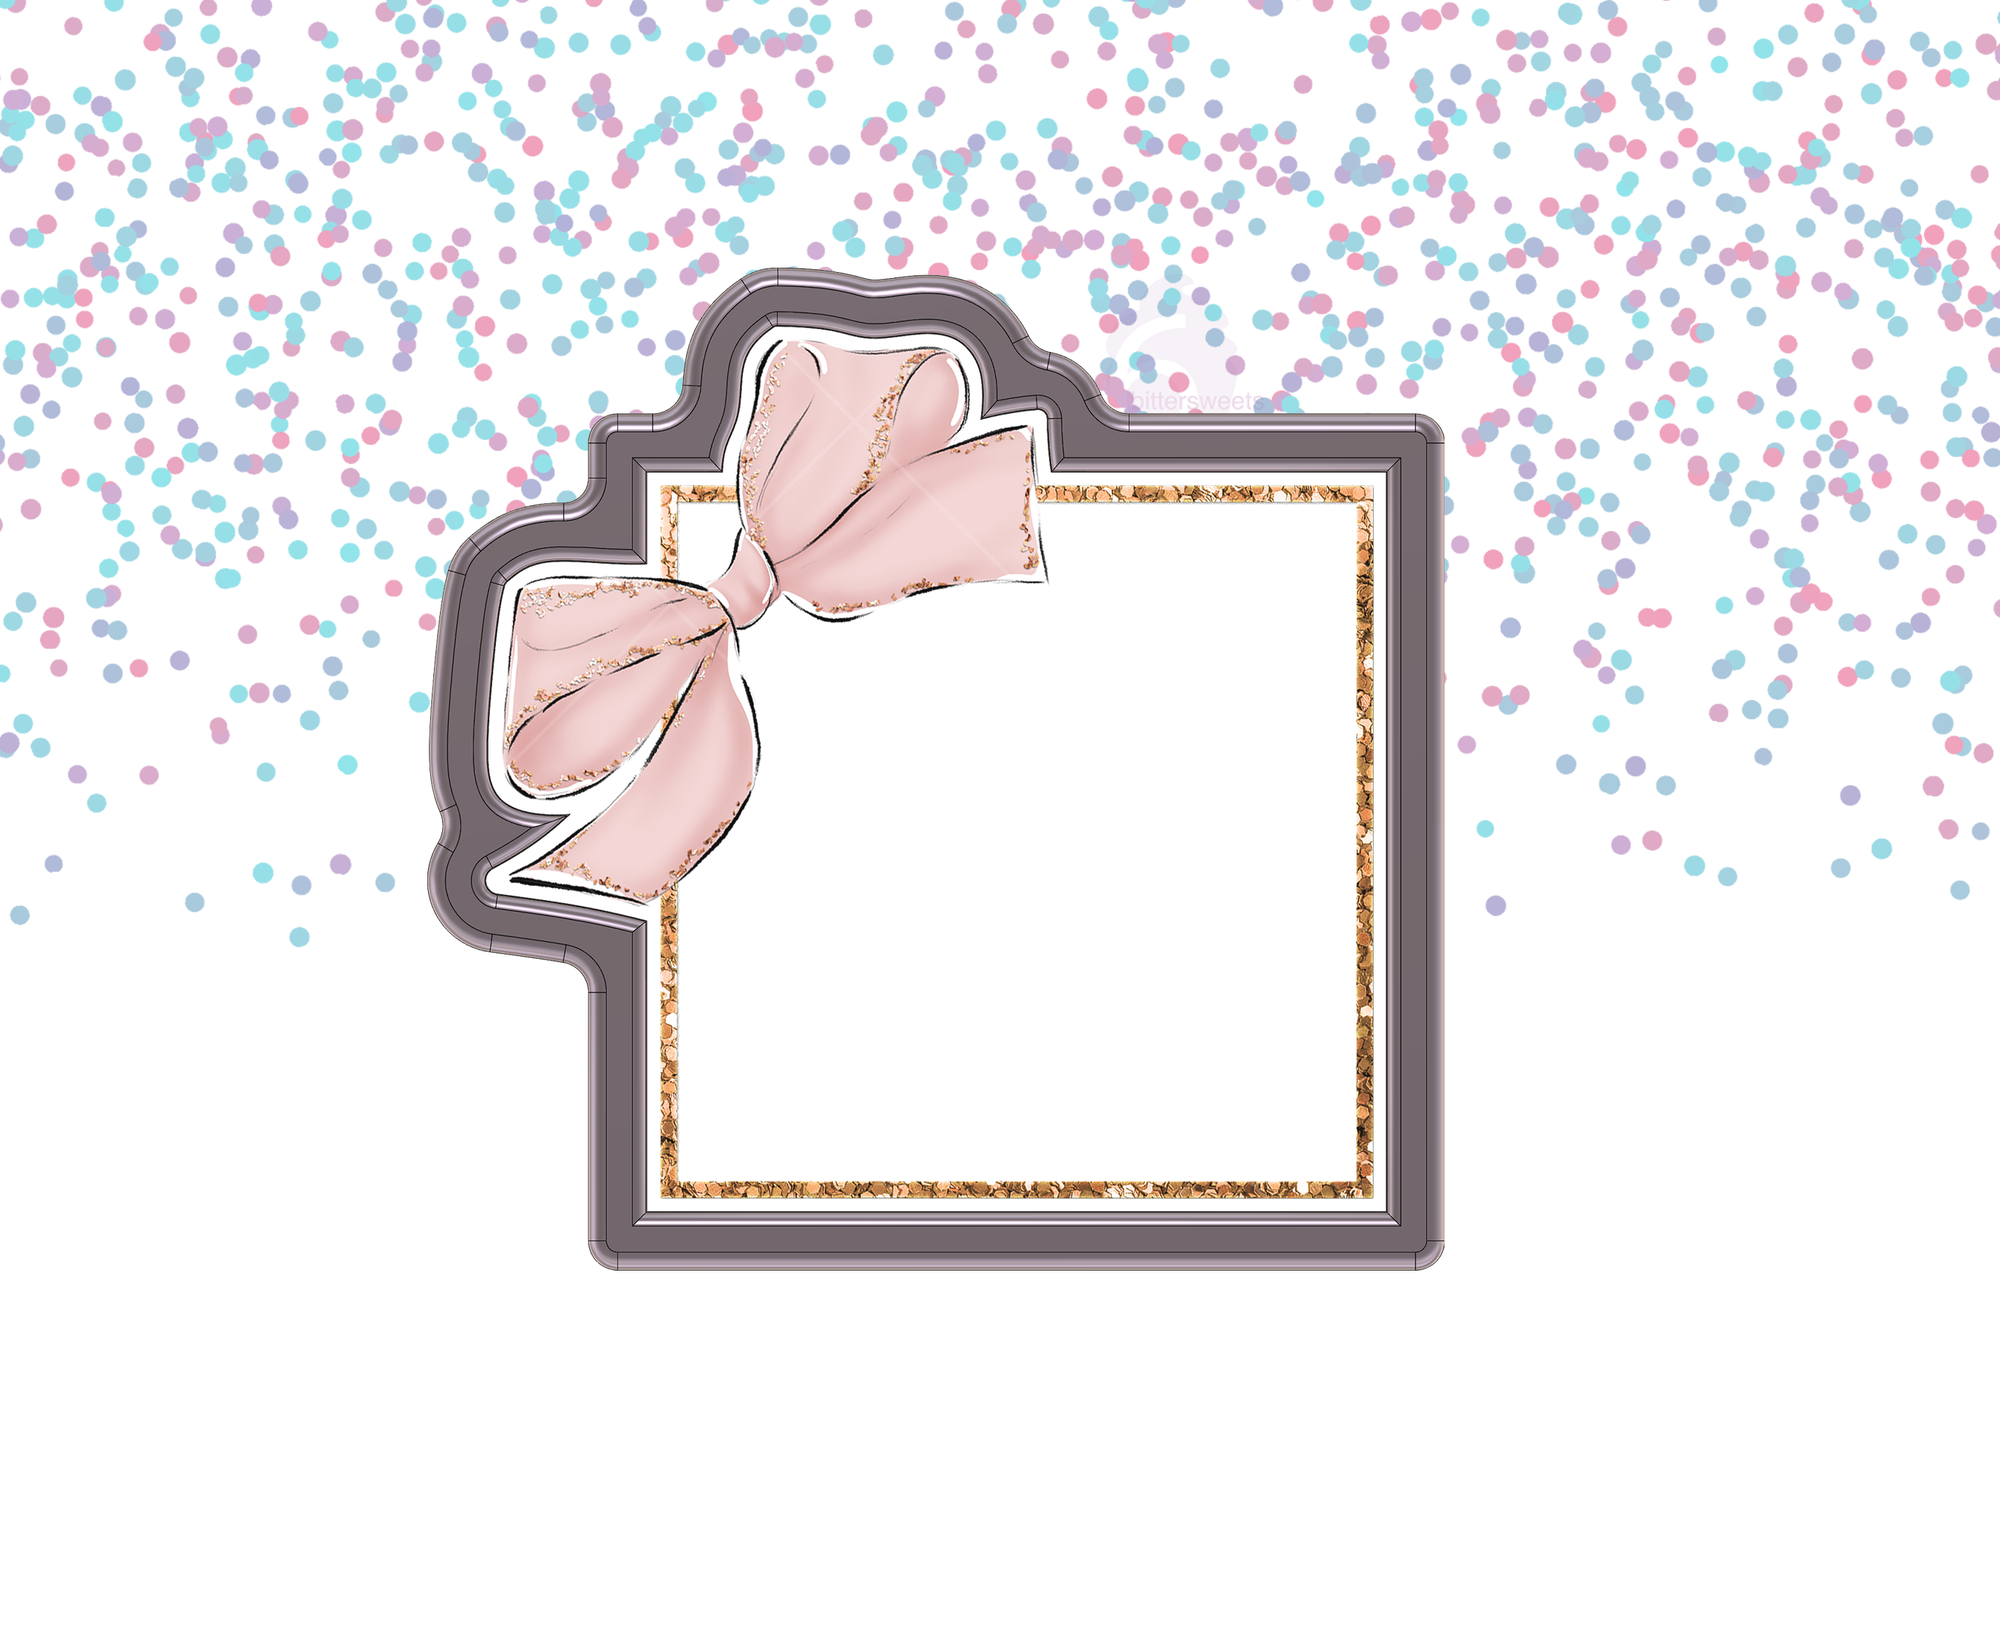
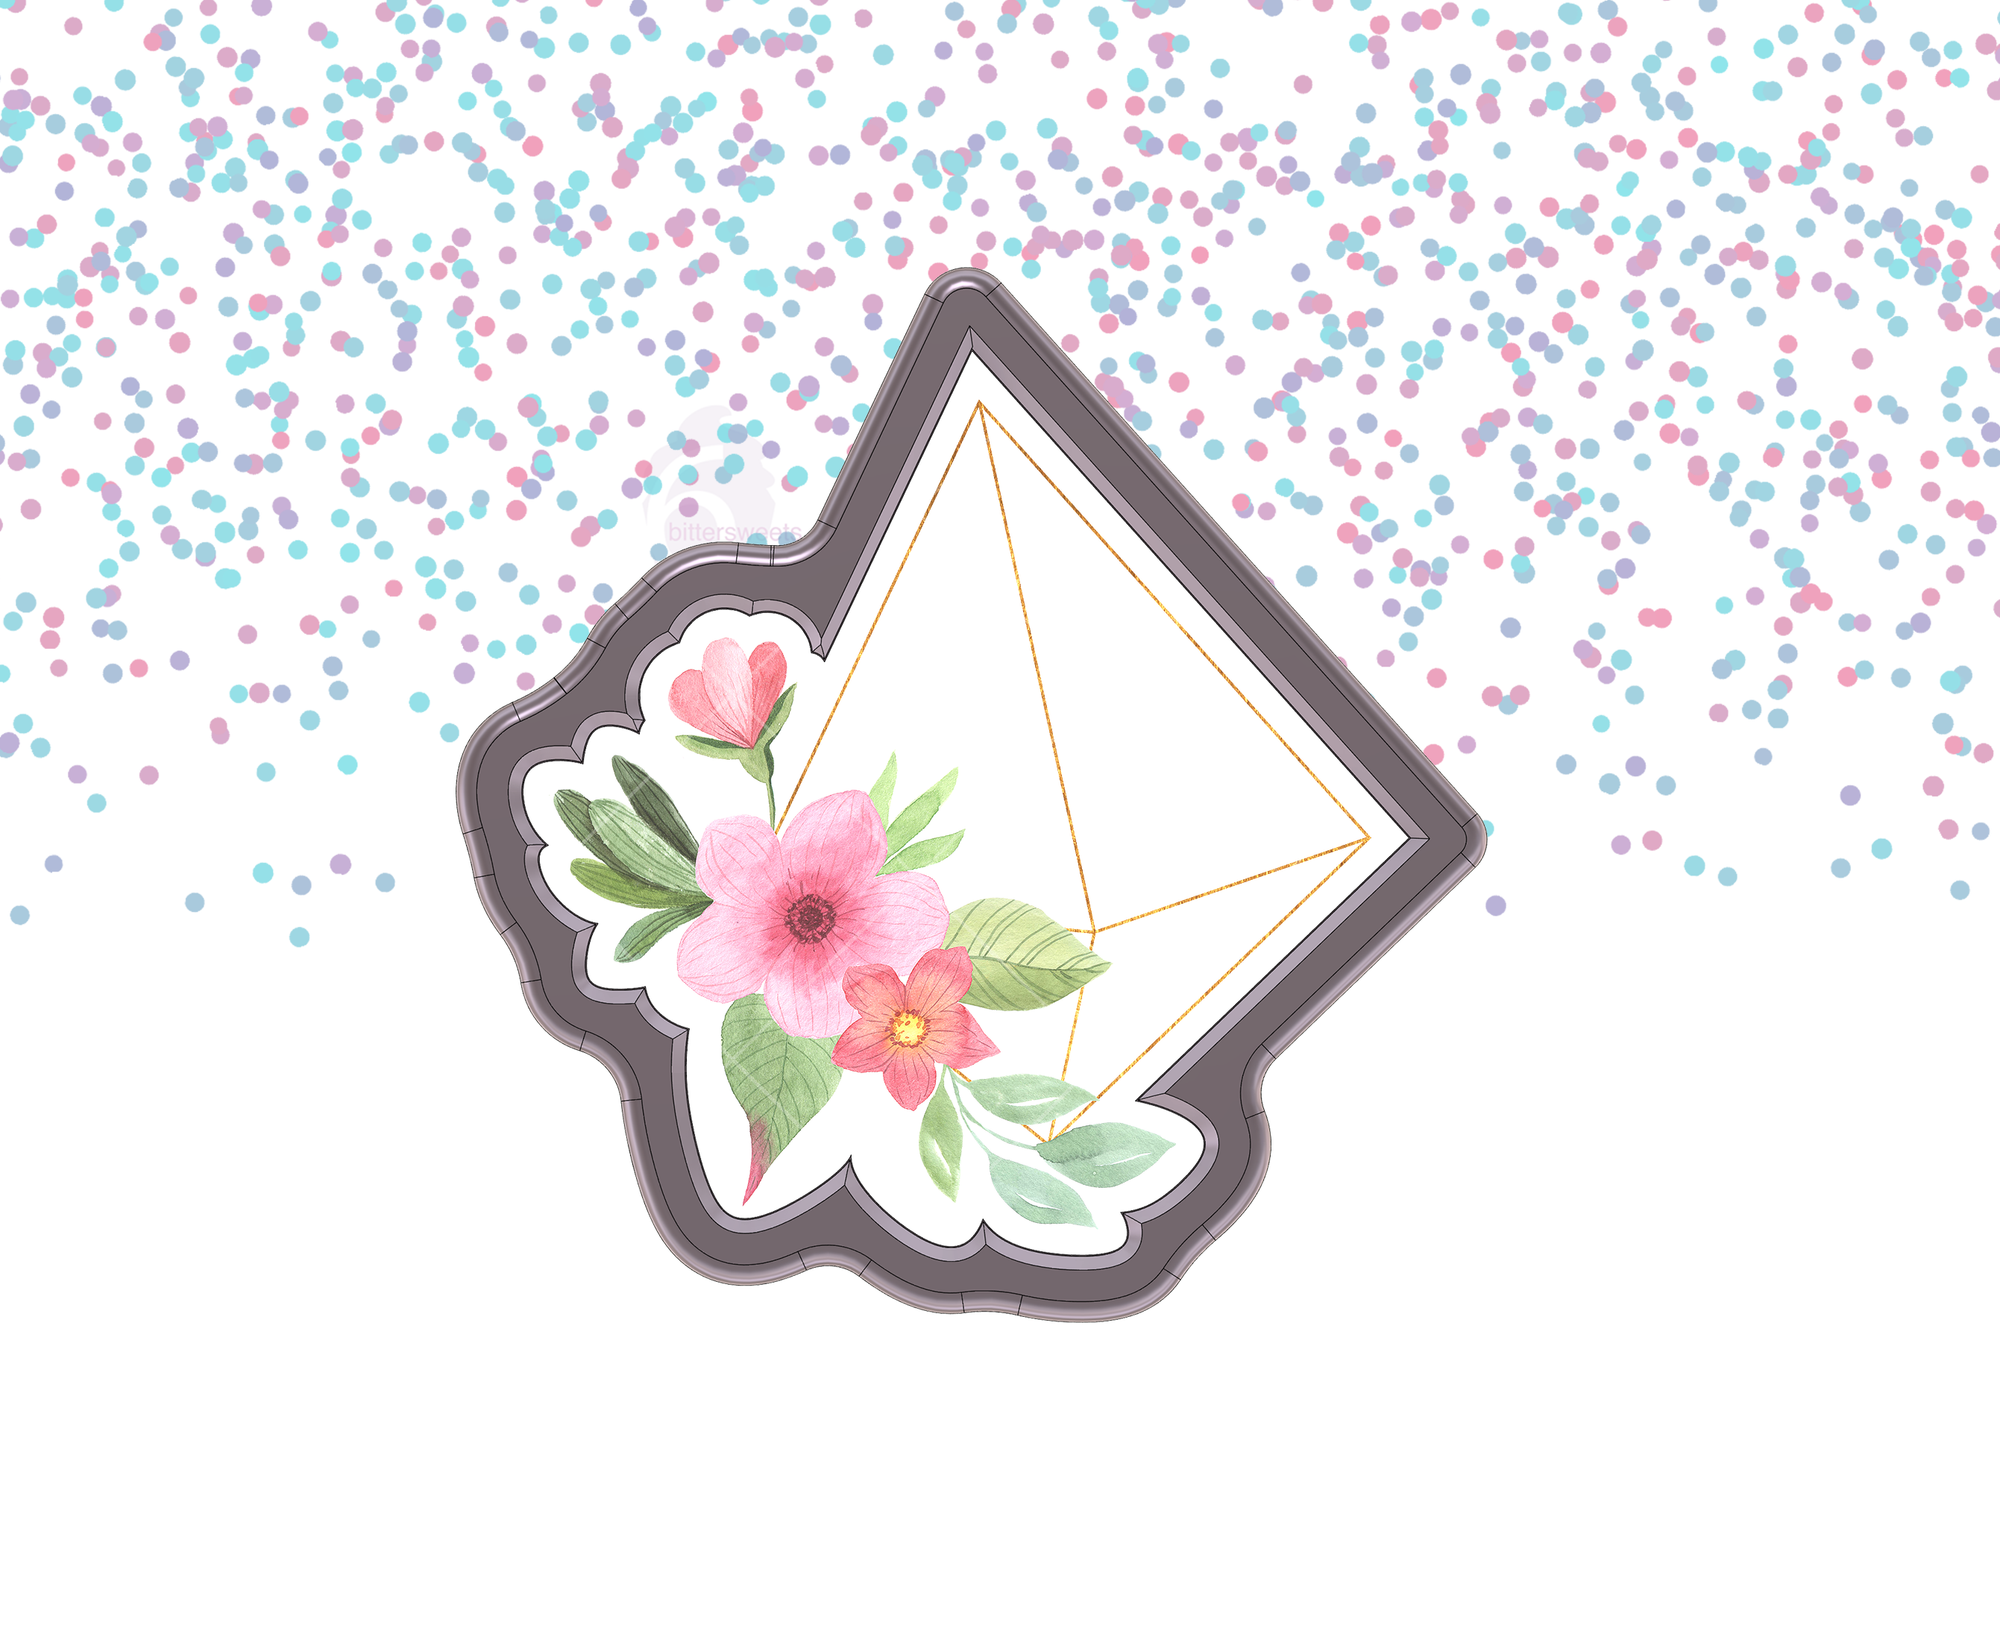
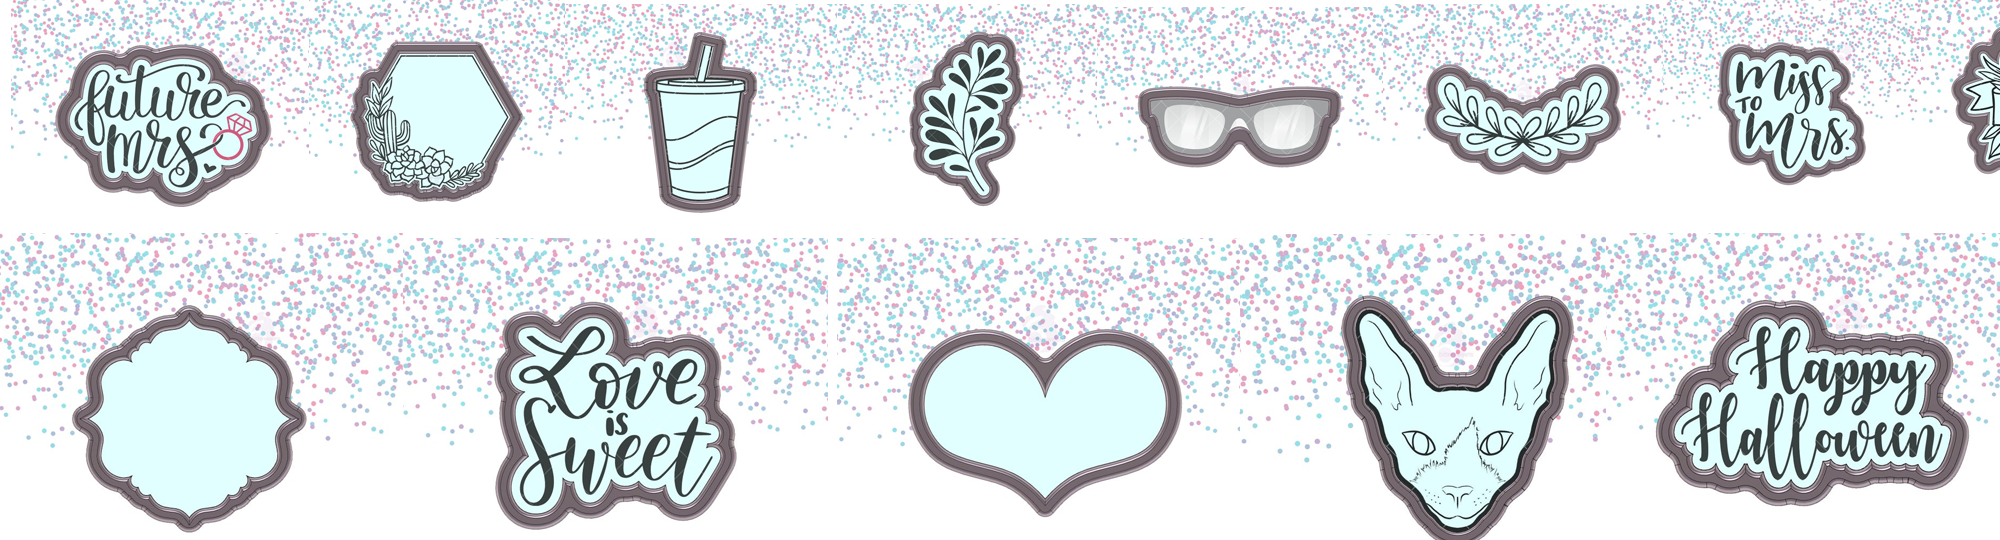
This floral plaque cutter is perfect
for making accent cookies to
round out any cookie set!


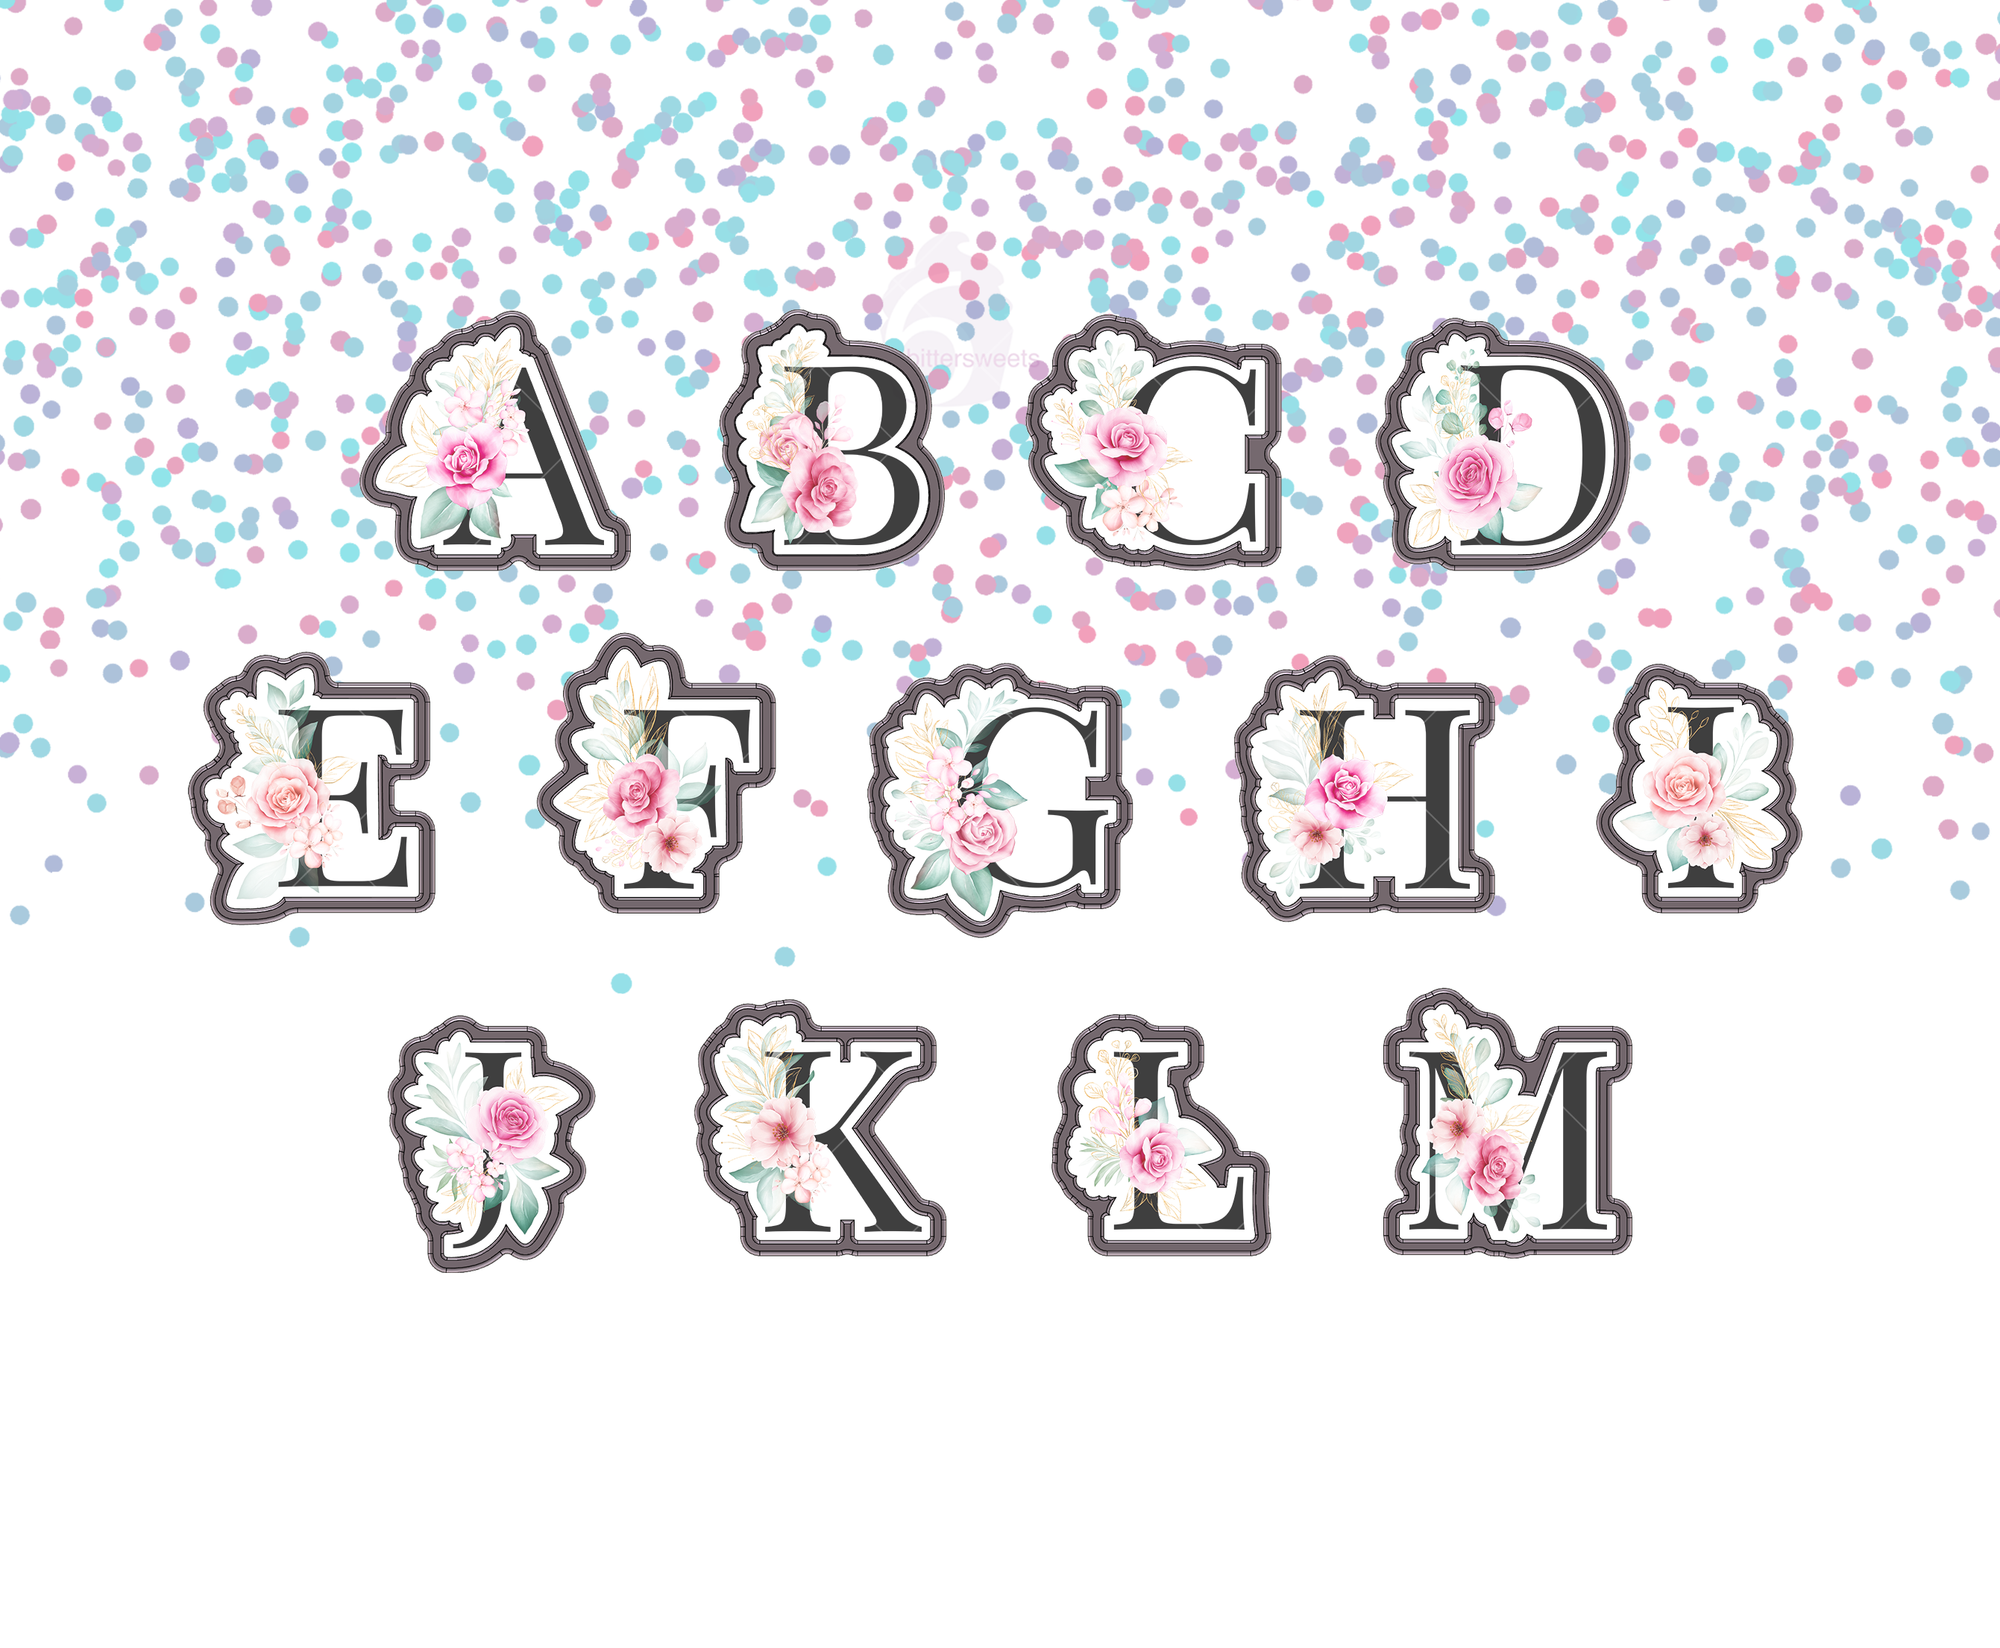
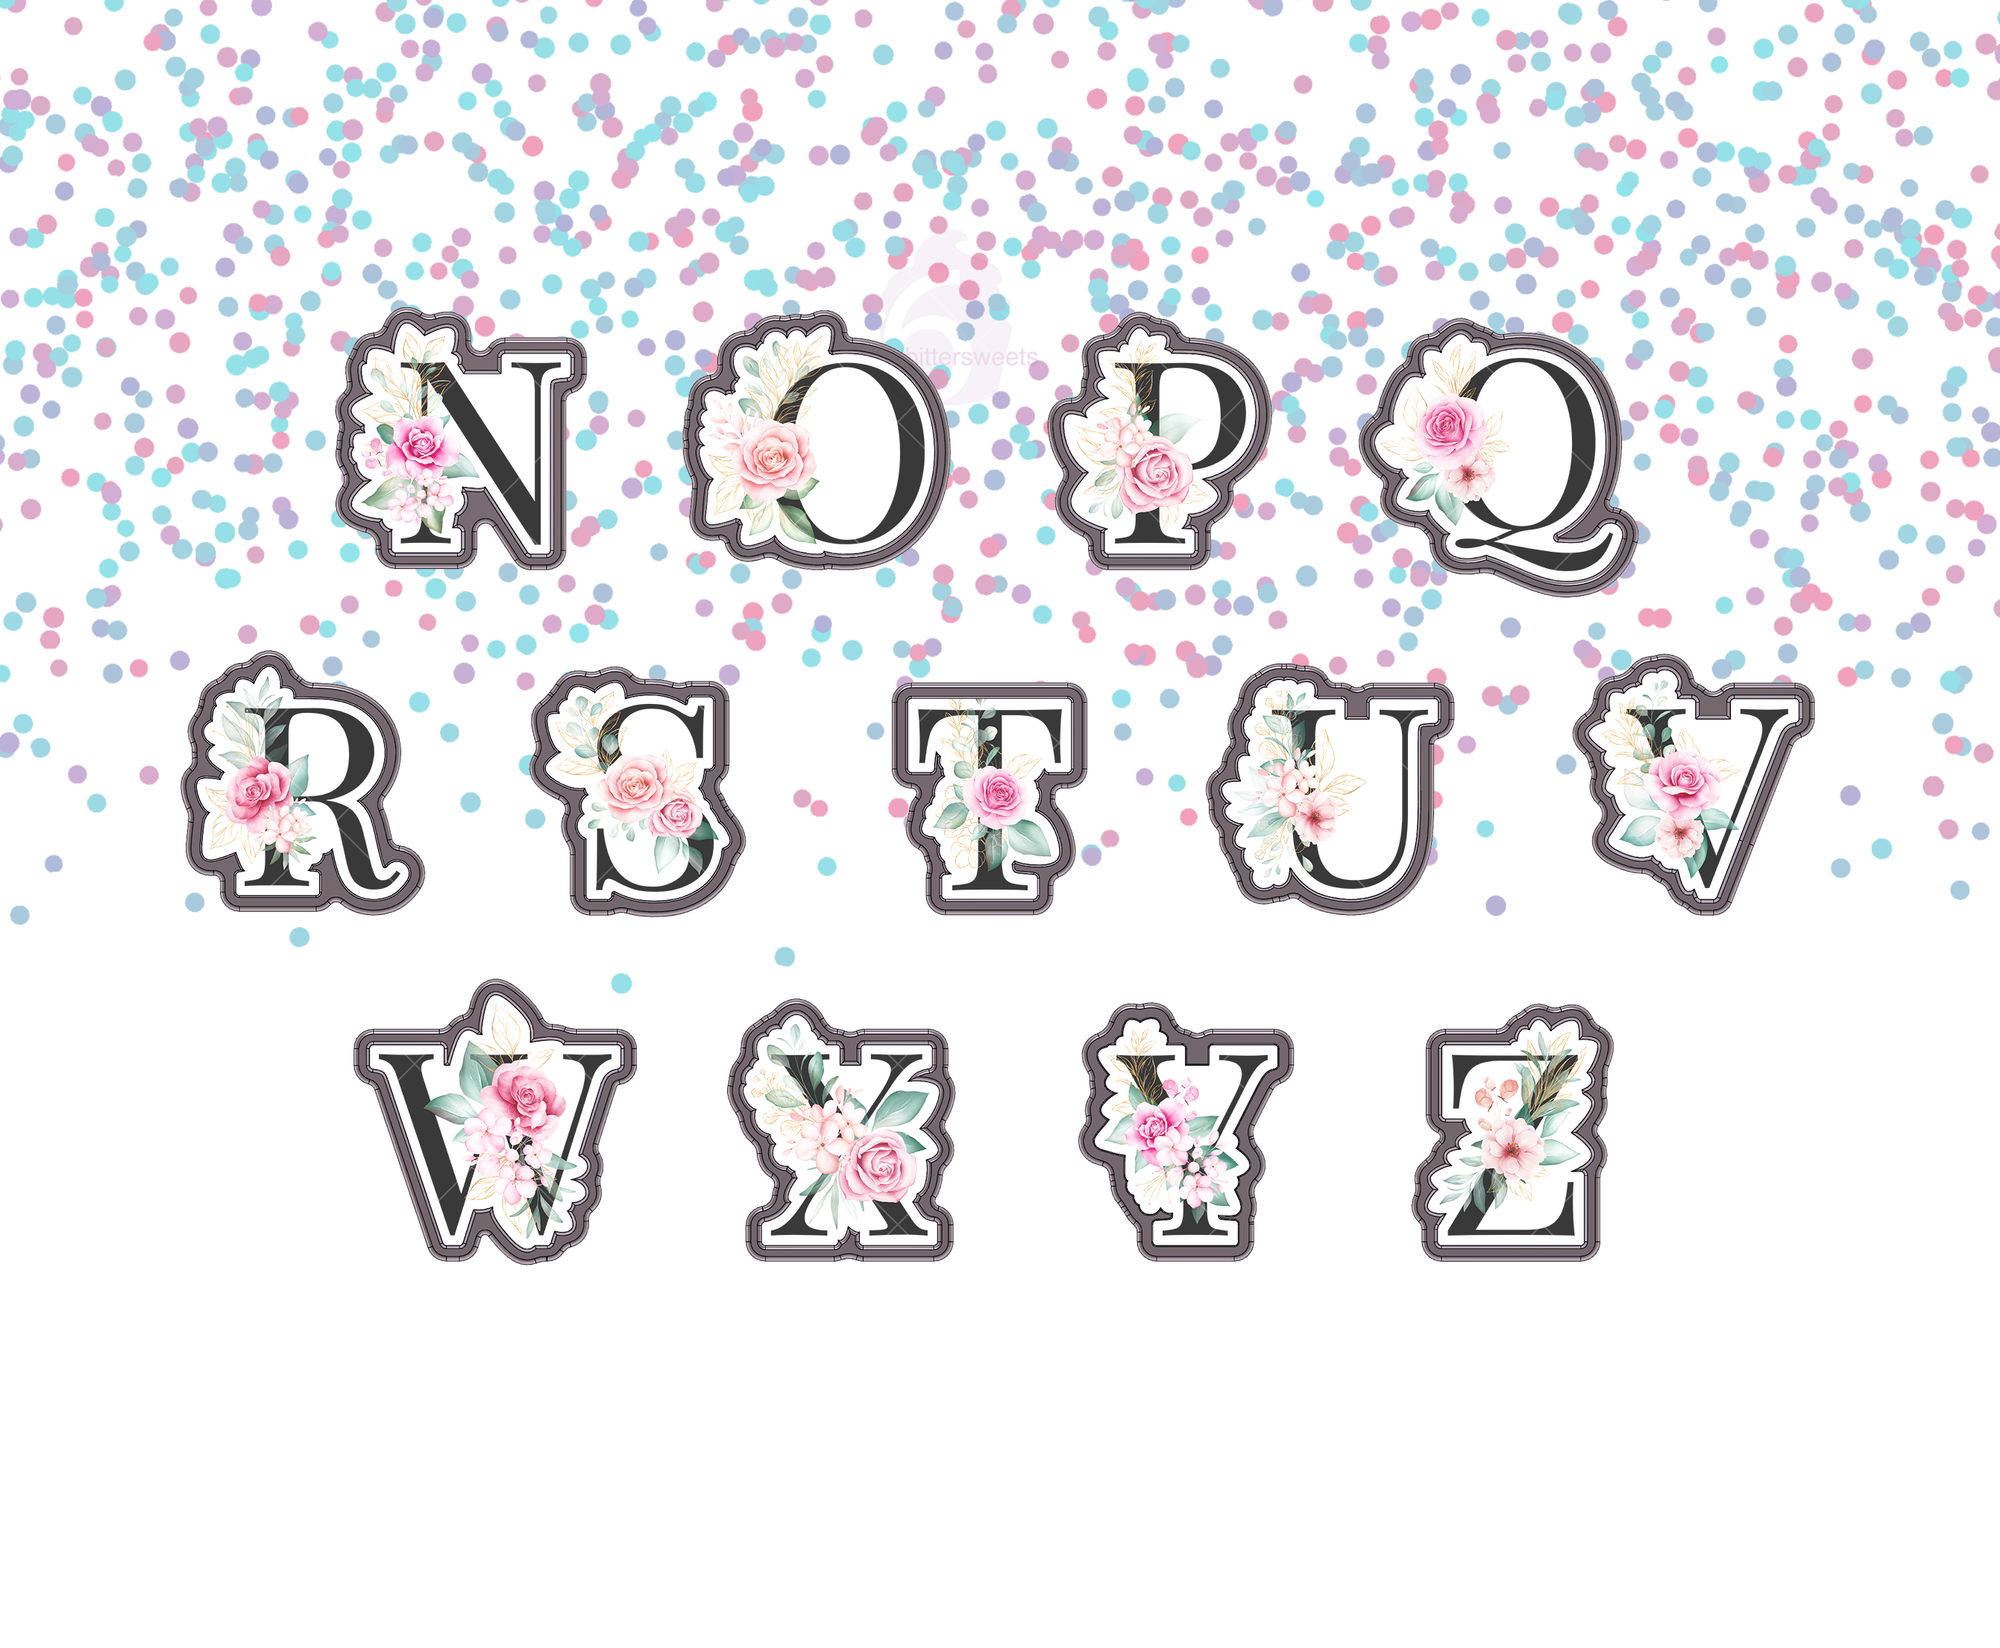
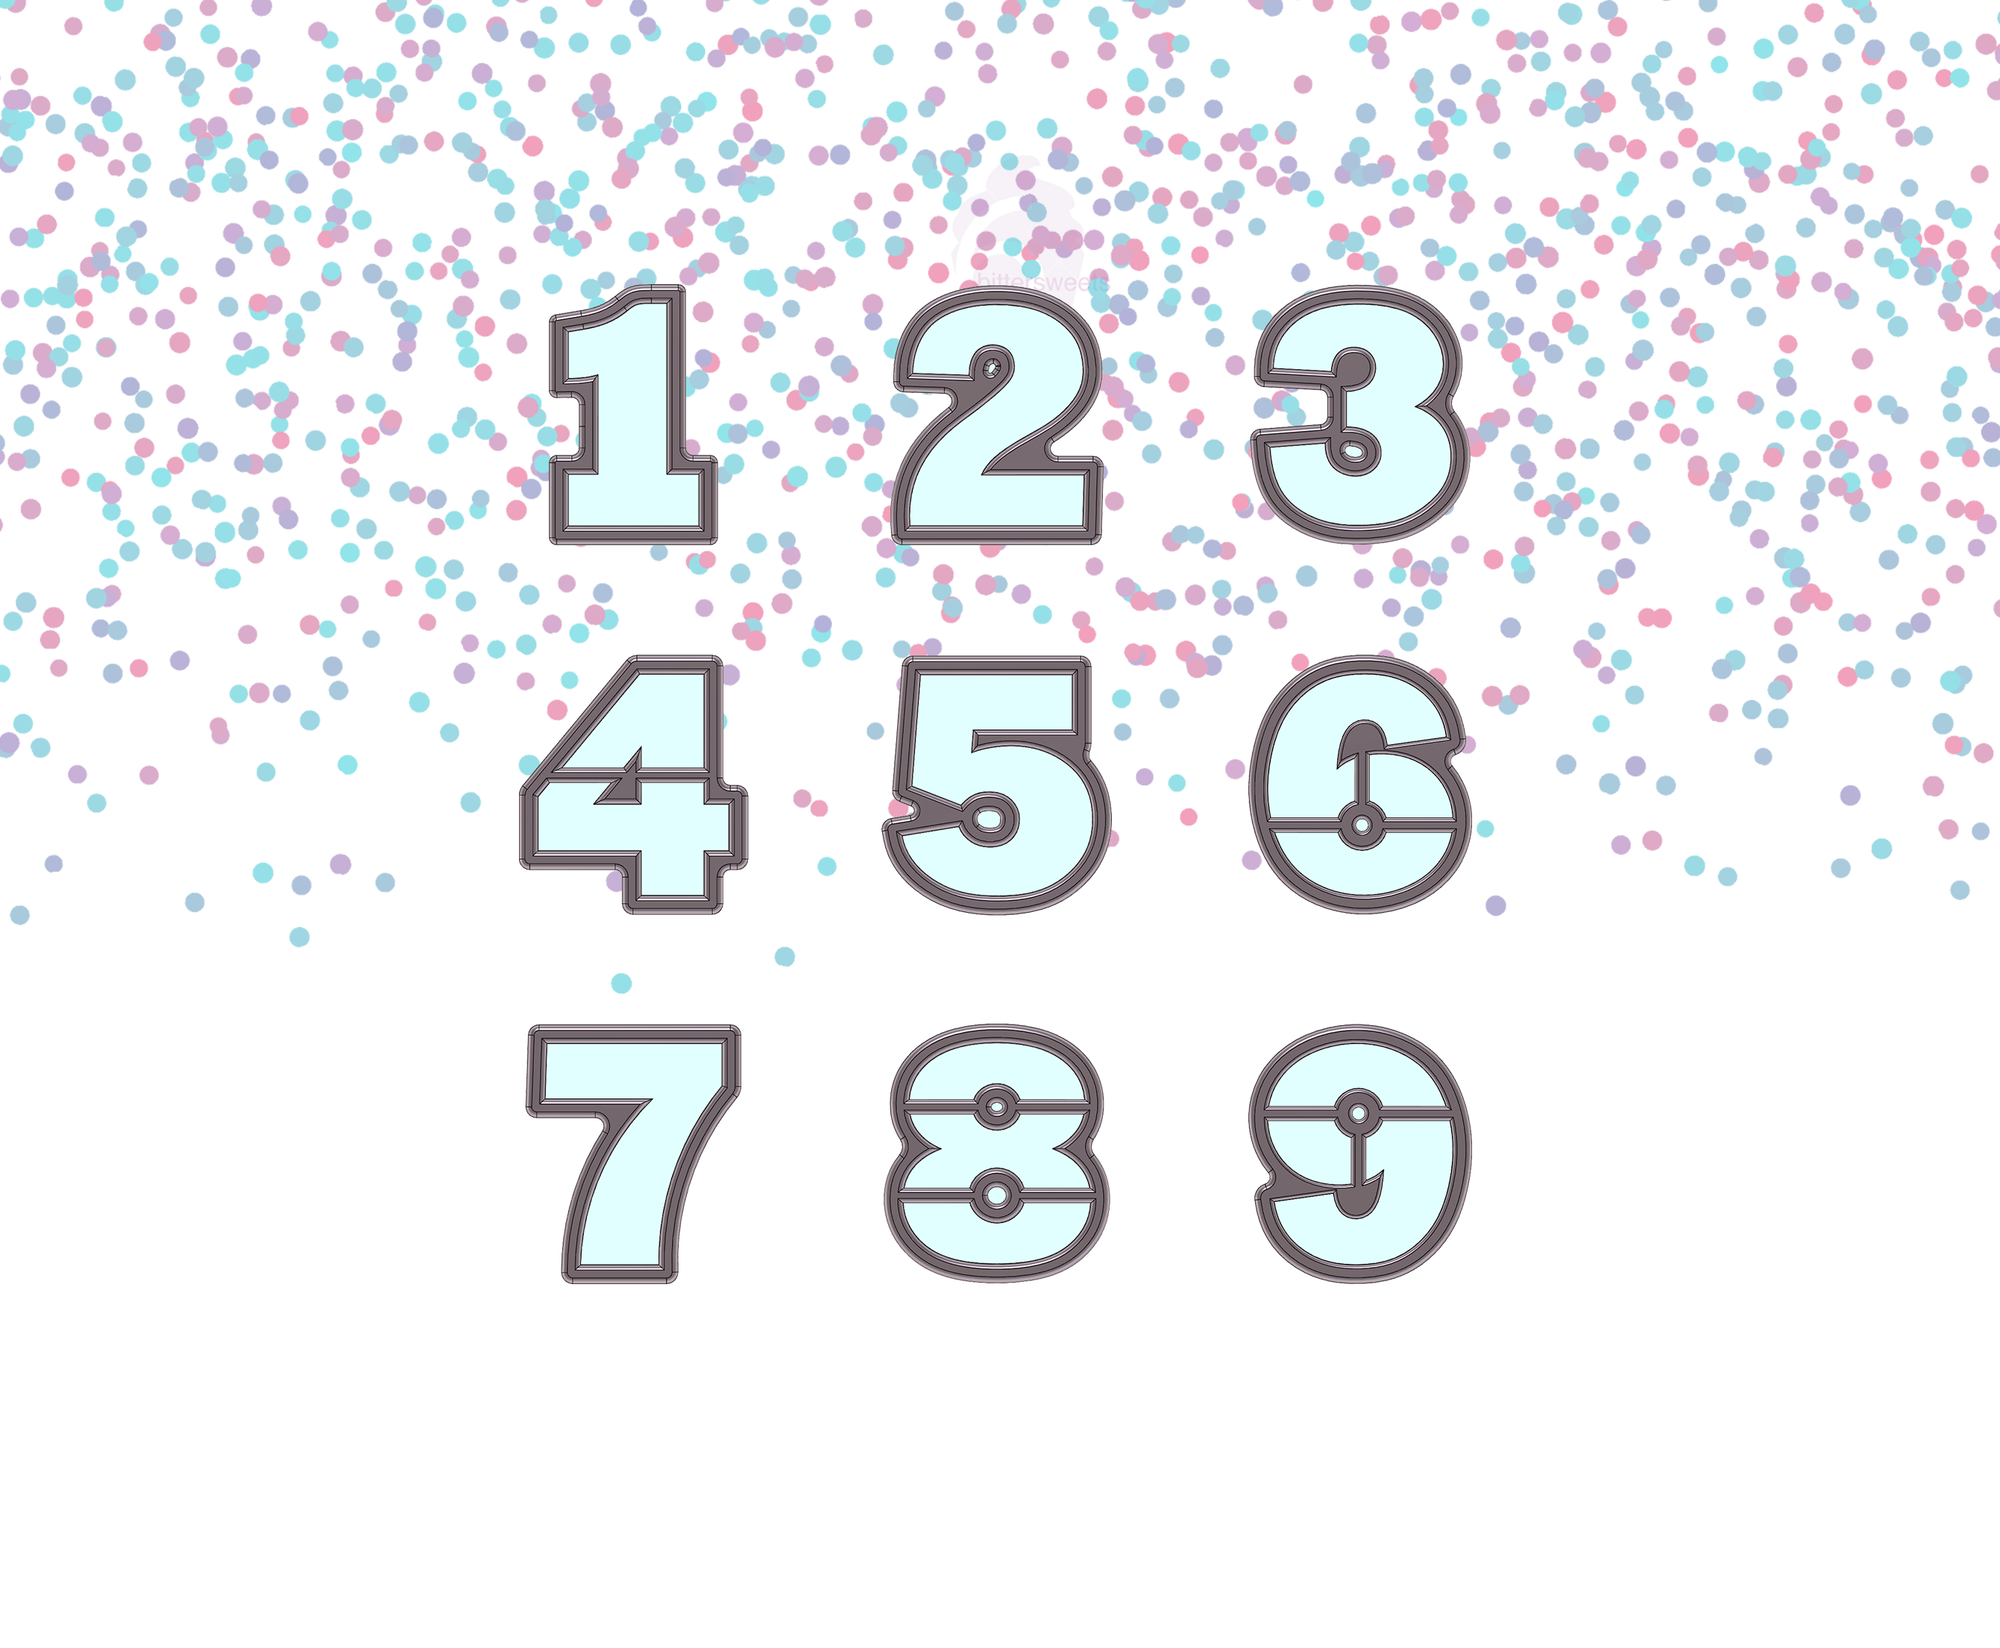
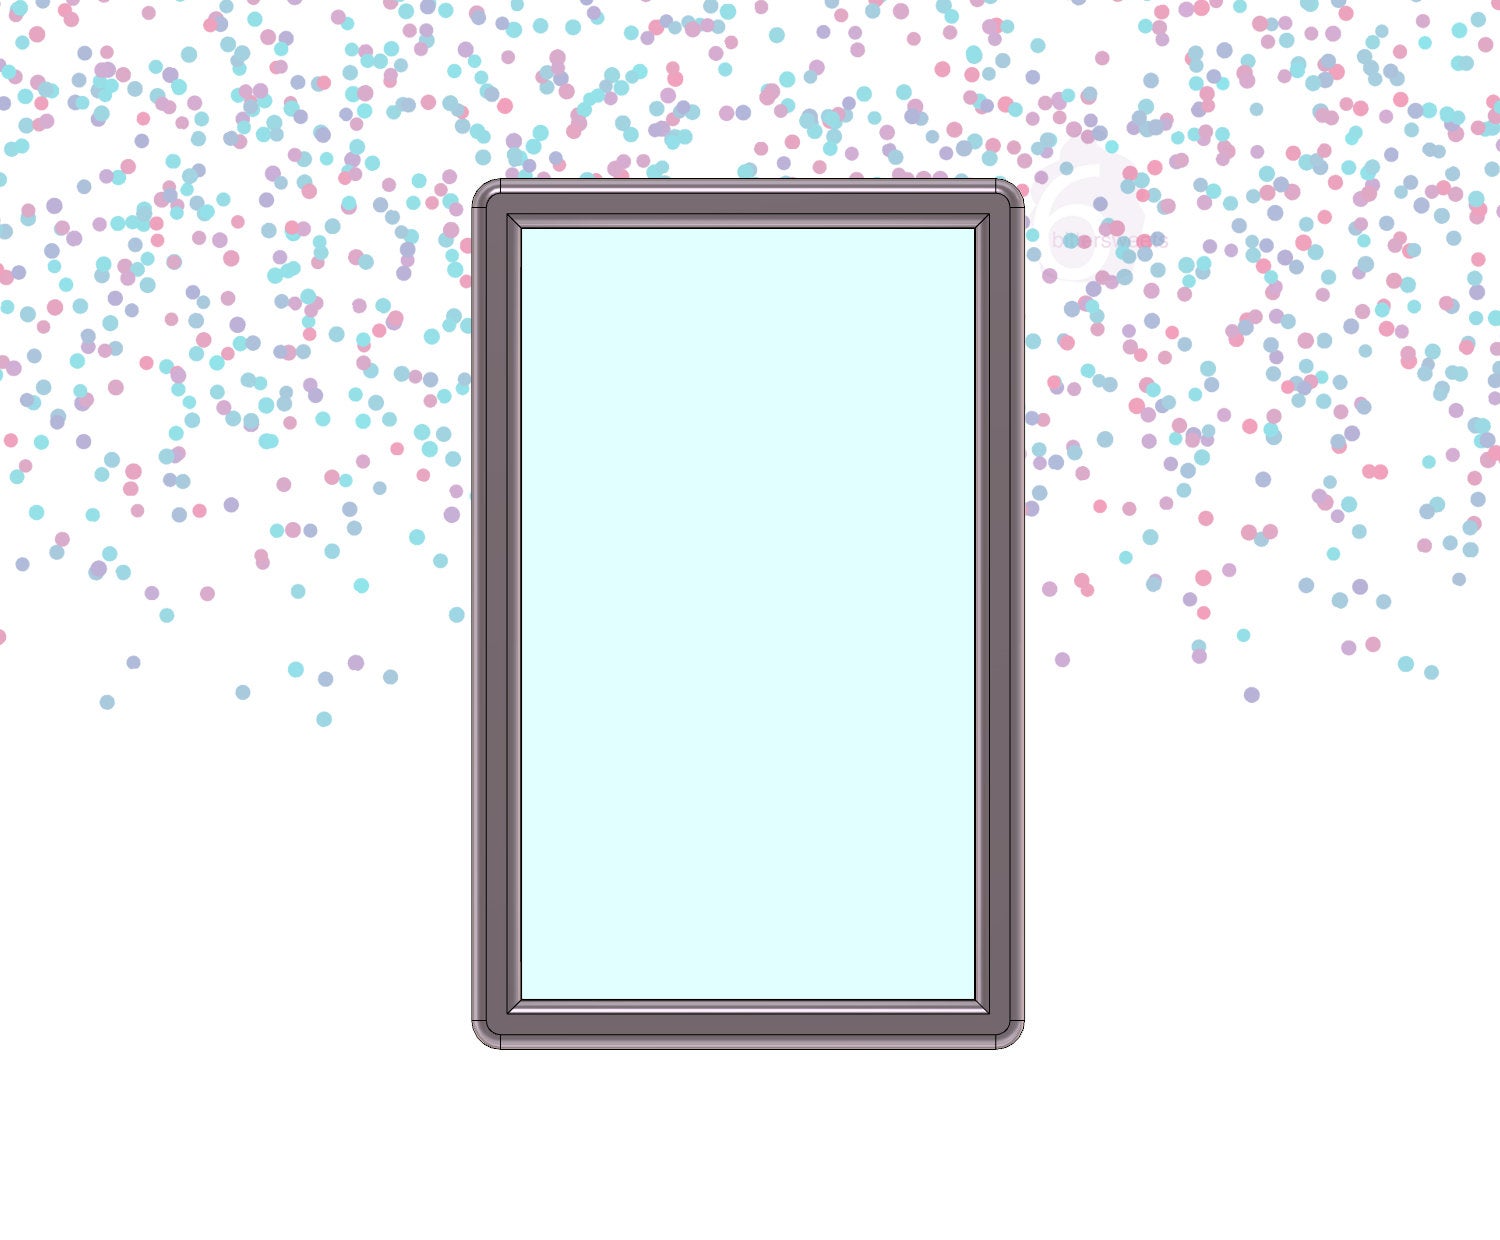
This lettered cutter is a great addition to any engagement, bridal shower,
or wedding cookie set!


![ONE FREE Misprinted Cutter <br>[LIMIT 1 PER ORDER]](http://6bittersweets.com/cdn/shop/products/il_fullxfull.2244629430_ar9z_91d0bdd1-bc03-49dd-ab29-9b1255db227a_1600x.jpg?v=1627287189)
![ONE FREE Misprinted Cutter <br>[LIMIT 1 PER ORDER]](http://6bittersweets.com/cdn/shop/products/il_fullxfull.2244629430_ar9z_91d0bdd1-bc03-49dd-ab29-9b1255db227a_2000x.jpg?v=1627287189)
![ONE FREE Random <br>Normal Cutter <br>[LIMIT 1 PER ORDER]](http://6bittersweets.com/cdn/shop/products/il_fullxfull.2244629430_ar9z_3ec8fe99-648d-422f-97b7-2293092ff3eb_1600x.jpg?v=1634710409)
![ONE FREE Random <br>Normal Cutter <br>[LIMIT 1 PER ORDER]](http://6bittersweets.com/cdn/shop/products/il_fullxfull.2244629430_ar9z_3ec8fe99-648d-422f-97b7-2293092ff3eb_2000x.jpg?v=1634710409)